Basic Text Tool

The text tool in the GIMP toolbox is pictured at left. Using the tool is by no means difficult, but there are a couple things to keep in mind . . . That said, I will step through the process, starting with opening an image:
Select/open an image
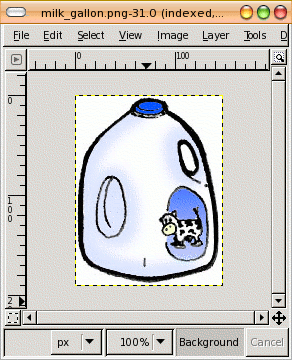
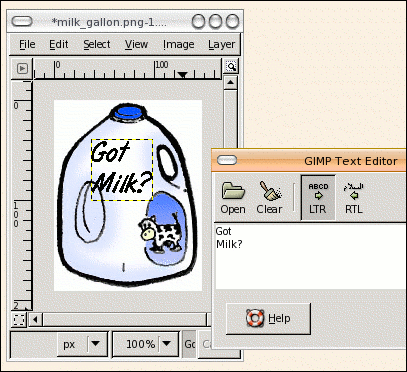
I opened a clipart image of a gallon milk jug. The first and most important thing to notice is in the titlebar. It says "indexed" -- you do not want indexed when you are going to play with text. It will have jagged edges. So, as shown in the next section, convert any indexed image to RGB mode before you start.
Make sure image is in RGB mode
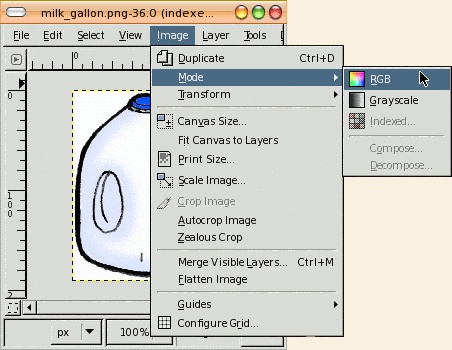
Make sure image is in RGB mode before using the text tool, or the characters will not be antialiased (will be jagged-edged instead)
text tool options
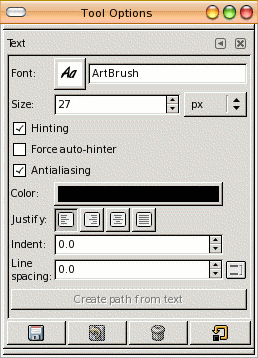
By double-clicking on the text tool in the toolbox, the options dialog box will appear. As you can see, you can change the font, the font-size and the color (as well as antialiasing, create a path, etc.)
The options can be changed "on the fly" prior to committing the text to the image.
text insert cursor
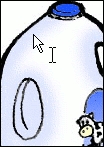
|
Moving Text
After you have committed the text, you can move the new text layer around to get it exactly where you would like.
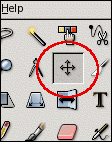
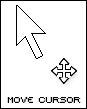
Once the Move Tool is selected, you can move the text with the "move cursor." If the cursor looks like a hand instread of the move cursor pictured, then you are not over the text layer, and you will move the rest of the image, not the text.

If you have trouble getting the mouse over the text layer, or accidentally select the background layer, then open the Dialogs > Layers dialog box, and select the text layer so it is highlighted. This will put the text layer on top again and you can try to move it again. open the
Entering text tips
- Make sure your image is in RGB mode (or greyscale for B&W) or the text will not Antialias -- it will have jaggy edges if not antialiased.
- Before you click the "Close" button to commit the text to the image, you can change values in the Tool Options, such as text size, font name, color . . .
- Once you click "Close" the text is pasted onto the image as a separate layer. You can therefore use the move tool to drag this text where you would like.
- Finally, when you are done woking on the text, you should image > flatten image.