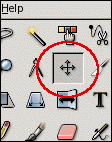
Quick note: To do simple things like angle text a bit or stretch it one way or another, you can use the basic text tool then select the PERSPECTIVE tool, then grab the corners that displays and stretch or turn the text at will. Kind of "quick and dirty" that way, but it usually gets the job done pretty well.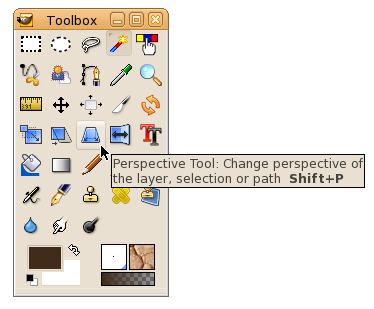
Freetype Plug-in
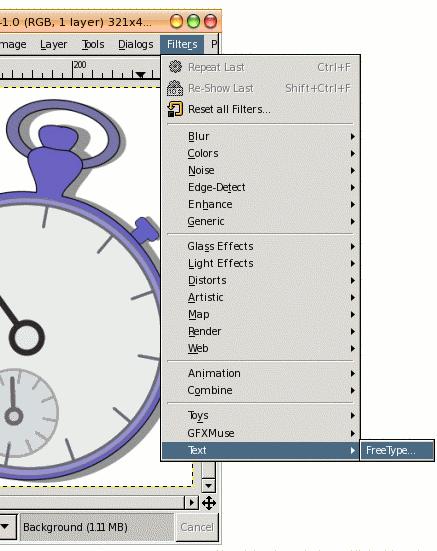
The Freetype Plugin appears in the GIMP menus under Filters > text > freetype.
NOTE: If you are using Windows after GIMP-2.4, the plugin does not come with GIMP. You can download a precompiled version I have here: GIMP-freetype-windows.zip
Unzip it and follow the instructions in "INSTALL.txt"
As with the basic text tool, make sure you are in RGB or Greyscale mode (for B&W images) if you want the text antialiased (not jaggy-edged.)
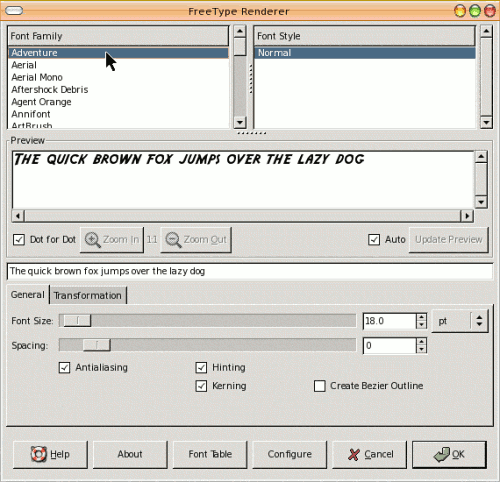
It allows for letter-spacing, font size, angled text (rotation), shear and X and Y-axis scaling.
Multiple line text, however, is not available. The color used is the current foreground color.
|
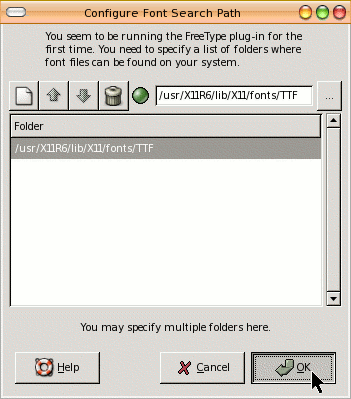
(you must select a font before it will function)
Freetype text tips
- The Freetype plugin shows a preview (but not on the image.)
- Because the preview is separated from the image, the new layer is added to the image only once after all the tweaks and changes you make are done and you click OK. Therefore the text layer is added all at once, and UNDO is a single step.
- The dialog will not allow for multiple lines, which is a bummer -- however, when the dialog is opened again during the same session with the GIMP, all of your settings are remembered. So if you used a particular font, at a specific angle, of a certain size -- these will all be the defaults when next you open the freetype plug-in. So if you needed a second line, it is easy to produce with the same characteristics of the first, then just move it where you need to.
|

|